Openers · Milton
Photo-Eye Sensor Alignment or Replacement
There are no sensors at the floor at all, or a previous owner has wired the pair together up beside the motor so the beam never crosses the doorway. A home inspector has just pointed it out.
Photo-Eye Sensor Alignment or Replacement
In plain words
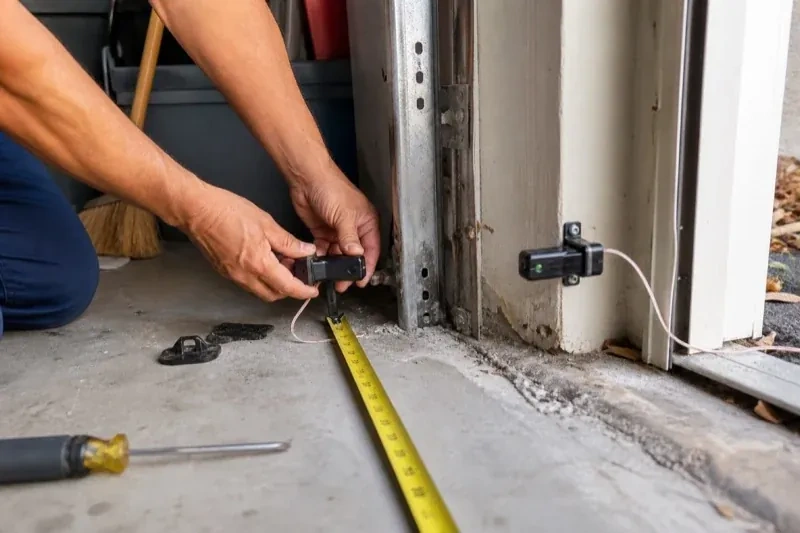
Most sensor visits end in alignment rather than new parts. The brackets that hold the sensors ride on the door track or the wall, and they get bumped by bins, tires and shovels until the two lenses no longer look at each other. The technician resets both sensors to the same height, loosens the wing nuts, aims the pair until the receiving light holds steady, tightens everything and secures the wire. Replacement is the answer when a lens is crazed, a housing is cracked, water has got inside or the indicator stays dark with good wiring, and then a pair matched to the opener is fitted.
How the visit goesSince shelving went up along the garage wall, the door will not close and both sensor lights are dead. A screw or staple may have gone through the thin wire that runs from the opener to the sensors.
Milton
How the visit goes
Following the wire home
When the lights or the code point to the circuit, the low-voltage wire is followed from each sensor to the head unit. The technician looks for staples driven through the insulation, wire pinched behind a track bracket, sections chewed by mice, cuts where shelving or drywall screws went in, splices that have corroded, and terminals at the head unit that are loose or connected the wrong way round. A meter confirms continuity and polarity rather than guessing. Where the wire disappears into a finished ceiling, the readings at each end tell whether the hidden section is sound or whether a fresh run is the tidier answer.
Repairing the wire run
Damaged wire is dealt with in whole sections rather than patched at a single point. A pierced or chewed length is cut back to sound insulation and either spliced with proper connectors or, more often, replaced from the sensor to the nearest good junction. Where the run has failed in more than one place, a fresh two-conductor wire is stapled from the motor housing across the ceiling and down both sides of the opening, kept clear of the track, hinges and the door's travel. At the head unit the pair is landed on the correct low-voltage terminals with polarity confirmed, and the sensor lights are checked before anything is tidied.
Wiring that stays put
The wire between the head unit and the sensors has been secured along the ceiling and walls, clipped clear of the track and, where it was exposed, run inside a protective channel. Two things keep it that way. First, when anything is fastened to those walls or that ceiling, from shelving to a bike hook to drywall, look for the thin wire before driving a screw or a staple. Second, if mice have been in the garage, a chewed wire is a common sign, so a dark sensor light after a sighting is worth a look at the run. Either way, the sensor lights will tell you the moment the circuit is open.
Photo-Eye Sensor Alignment or Replacement
In the van
- Protective wire channel
- Matched photo-eye sensor pair
- Track-mount sensor brackets
- Wire connectors
- Receiving-eye sun shade
What affects the quote
Same fees day, night or weekend
1Number of doors
Each opener has its own sensor pair and wire run, so a double garage with two doors is two sets of checks, two possible pairs and two rounds of testing, quoted per door.
2Door-side findings
A balance problem, a stiff roller or a bottom seal that needs replacing sometimes shows up during testing. Those belong to their own service and are noted and quoted separately rather than hidden in the sensor work.
3Opener make and generation
Sensor pairs are matched to the opener family, and some models take a kit with brackets and wire while others take sensors alone. The head unit label sets which pair is needed and how it is priced.
Photo-Eye Sensor Alignment or Replacement: questions
Can cold weather affect the sensors?
It can, in a few ways. Frost or condensation on a lens in an unheated garage dims the beam until it clears. The low winter sun reaches further across the floor and into a receiving eye. Old wire insulation cracks in the cold and shorts. Salt slush builds against brackets and corrodes them and the terminals over the years. Each of those has a straightforward remedy: cleaning, a shade or side swap, a fresh wire run, or brackets set above the slush line.
How should I clean the lenses?
Gently, with a soft dry or lightly damp cloth, the way you would clean eyeglasses. Never scrape a lens or use a solvent, since a scratched or clouded lens scatters the beam. Wipe both sensors, then check that the receiving light comes on steadily. If a lens frosts on cold mornings, give it a few minutes to clear or dry it with a cloth. A quarterly wipe keeps dust, cobwebs and salt film from building up.
What tests are done before the technician leaves?
Two, and you are invited to watch. With the door closing, an object is passed through the beam and the door has to halt and climb back to the top. A 2x4 laid flat beneath the door's centre comes next; closing onto it must make the door back off on contact. The door is also run from the wall control and a remote, the opener's warning flashes are confirmed gone, and both sensor lights are shown steady.
Openers & Access
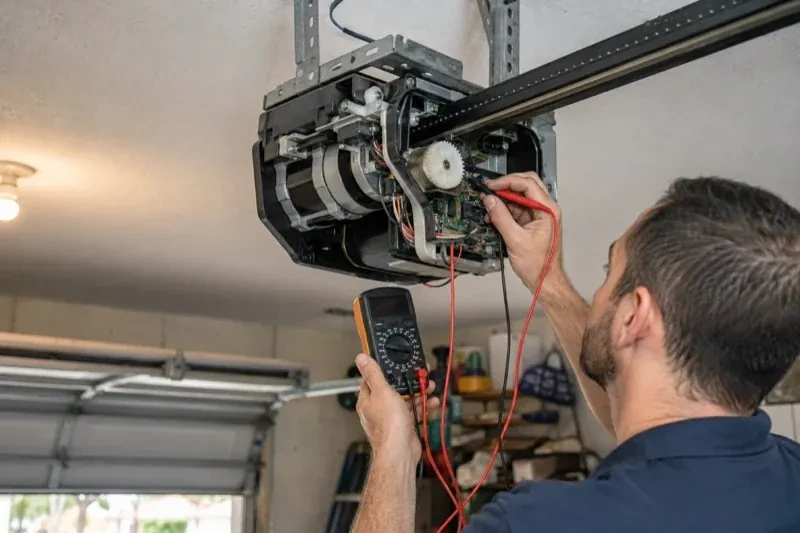
Photo-Eye Sensor Alignment or Replacement near you
The list below is what a garage door technician in Milton actually does in a week: replaces springs and cables, resets doors that jumped the track, fixes and replaces openers, programs remotes and keypads, changes seals and rollers, tunes and balances doors, and installs new ones.